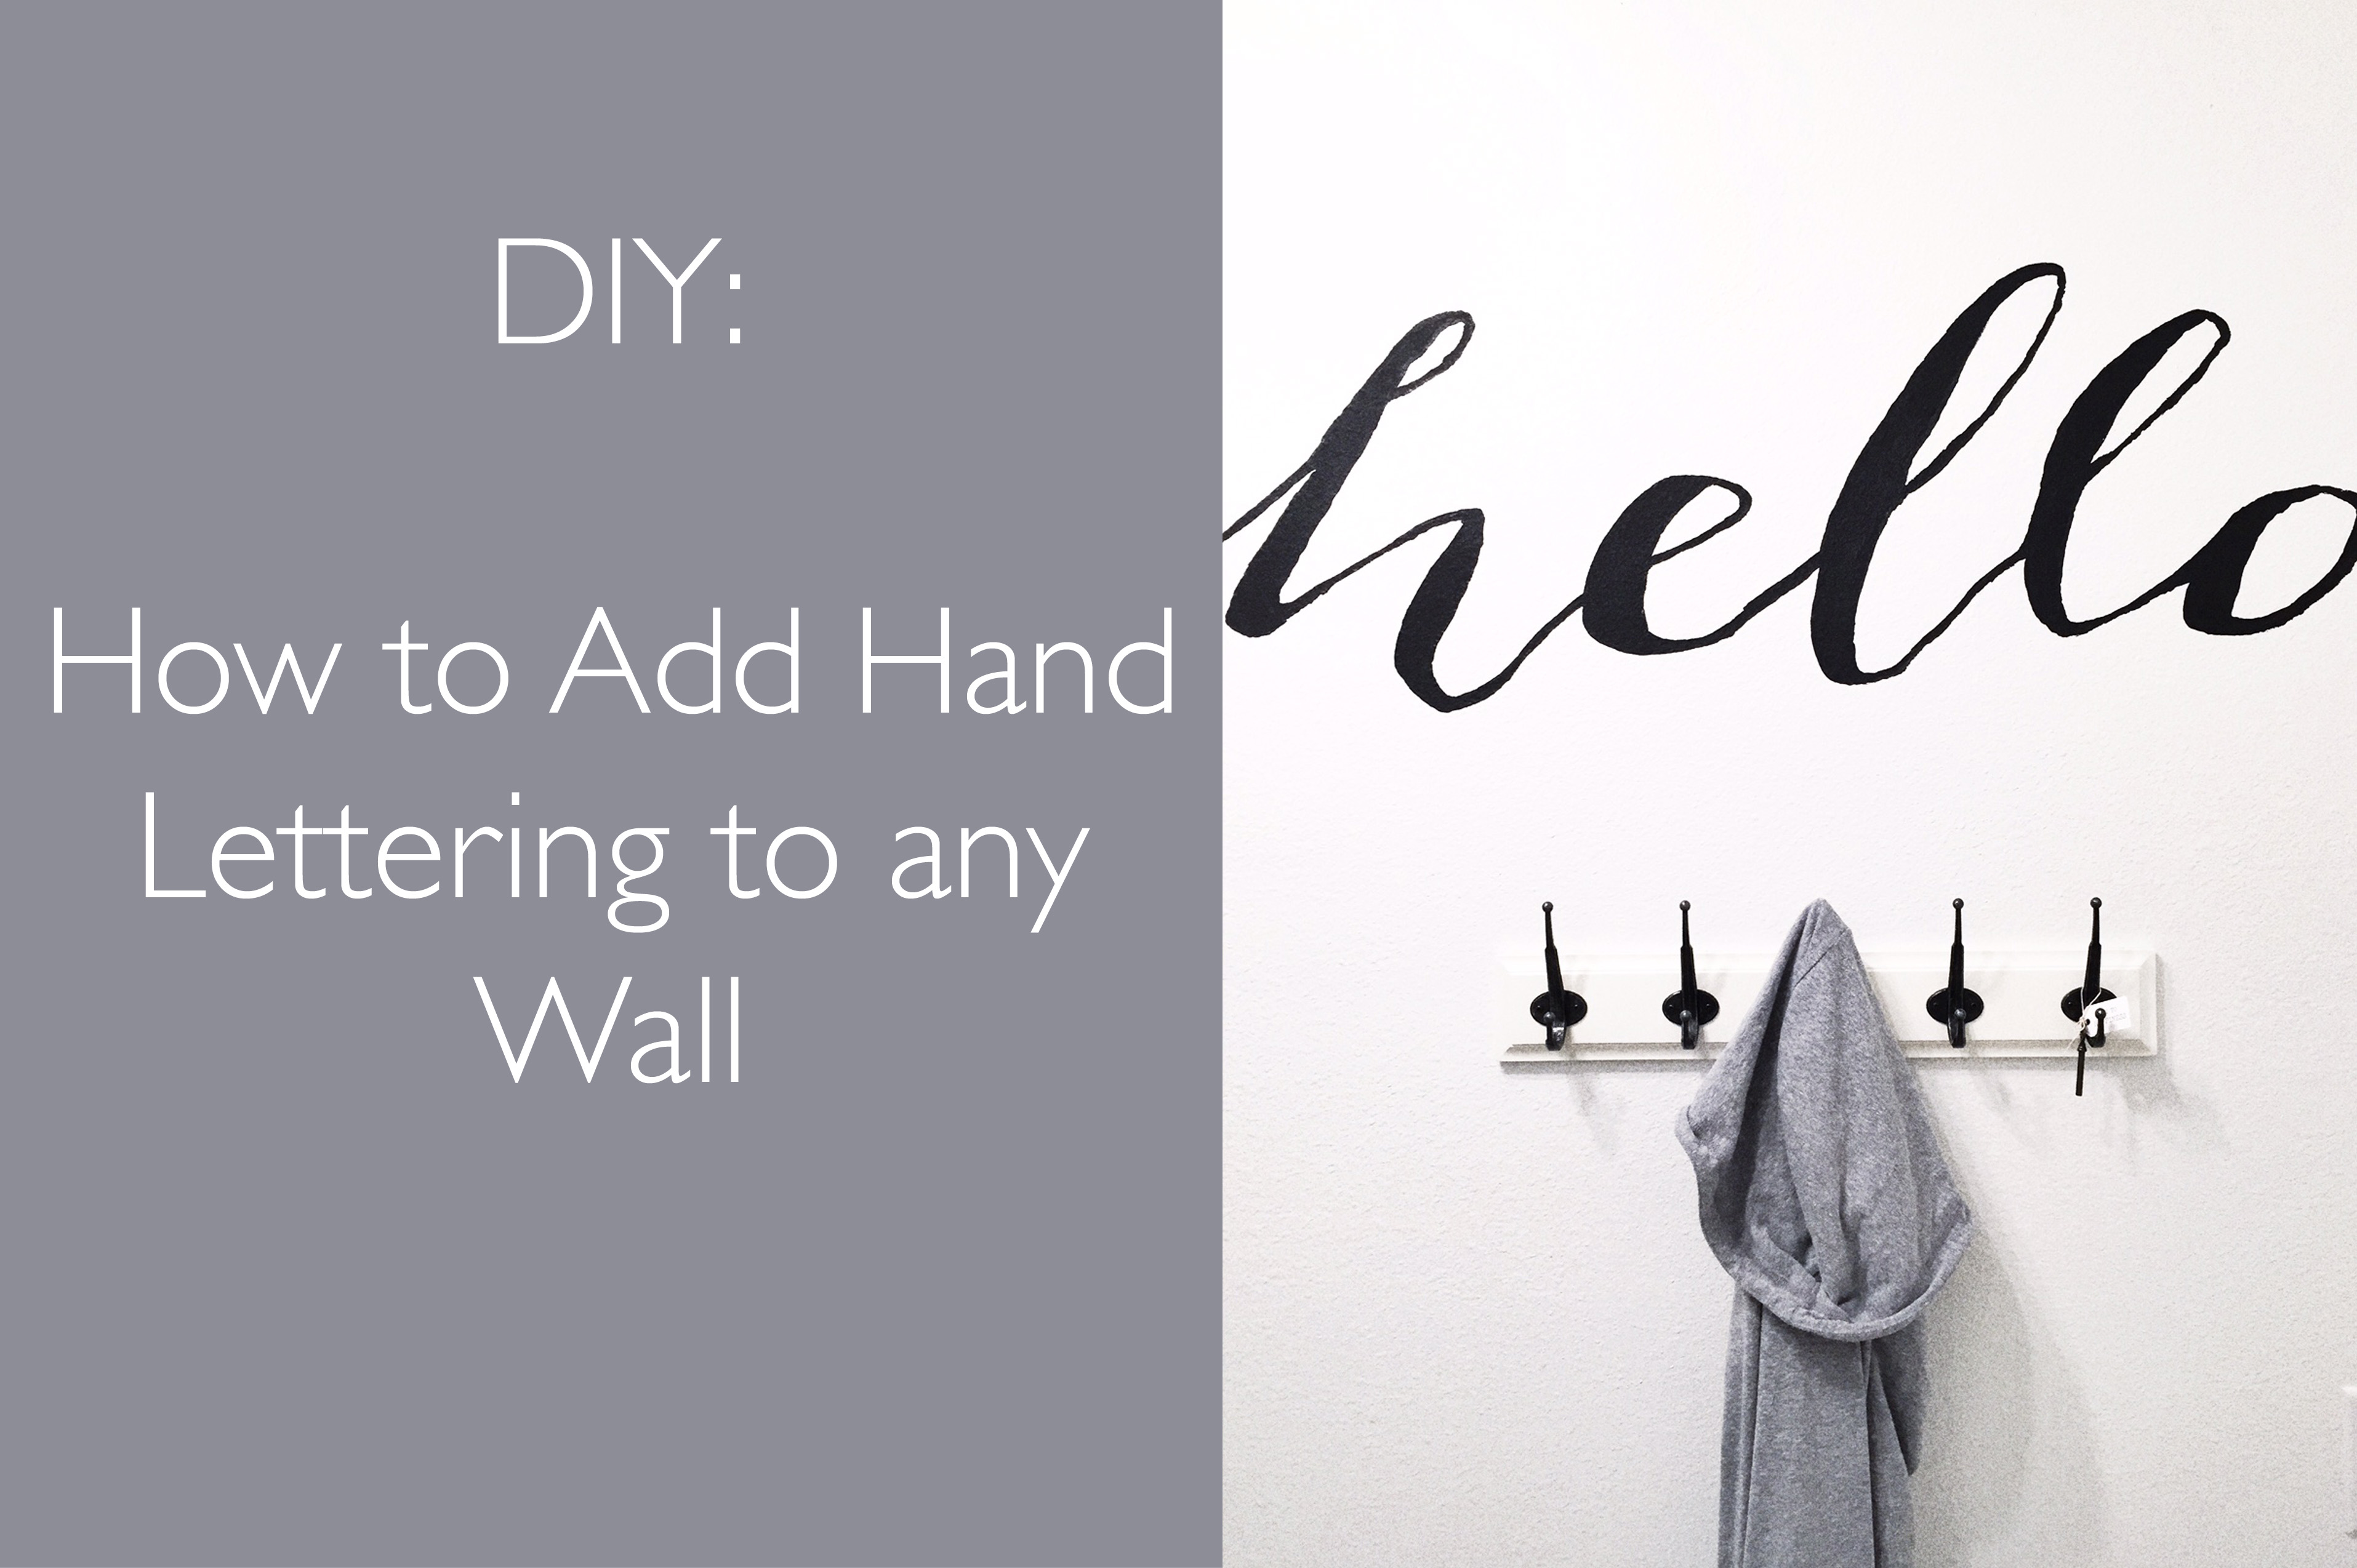
Hey friends, Ben here! And today I’m here with some awesome DIY tips on how to create a pop of fun on an otherwise boring blank wall. That’s right, today we’re getting crafty!

Something a lot of people don’t know about Sarah and I, is that out of the two of us I am the more artistic one. Sarah is the master of making all the plans and brainstorming the ideas, but when it comes time for the execution she is the self-proclaimed Queen of Pinterest Fails (that’s in all caps because it is most definitely an official title). So a while back when she had dreamt up (aka pinned onto one of her hundreds of boards) a new household project, she put her best man (which just so happens to be me!) on the job. She had seen that someone had decorated their foyer wall with a hand painted welcome message, and after us deciding that our entryway could benefit from a little bit of sprucing, she handed me some supplies and I got started.
After picking out the font and wording we wanted, I stood in front of the white wall before me feeling a little intimidated. In my head I can paint. I can sketch. I can doodle like nobody’s business. BUT, in reality this is not so much the case. I do however feel pretty good about grid work in the world of art. You probably remember this from elementary school art class where you take a picture, measure out lines in a grid over the picture and then draw whatever falls into each box one at a time to reproduce it. That’s the method we are going to use to break this incredibly daunting task into a bunch of very small, un-intimidating boxes. I documented this project through iPhone snaps along the way, so if you’re looking to start a project like this here’s a super easy step-by-step DIY.
Adding Hand Lettering to a Wall
Step 1: Print Out Your Wording, Grab a Ruler, and Draw a Grid Over It
 I started by measuring the space I wanted to fill on our wall, which turned out to be 44 inches wide and 20 inches tall. (I kept everything in inches to make the conversion process between the small grid and the larger one easy). I needed to make this smaller for my printed sheet of paper, so I found a number that both of those were divisible by (which in this case was 4). So after that division, I drew an 11×5 grid over the top of the wording, with the squares being 1 inch wide.
Are you with me? (I promise that’s as mathy as this project will get!)
Step 2: Draw a Corresponding Grid on the Wall
Next it was time to draw that same grid on the wall (your best friend in this project will be an easily erasable #2 pencil). Since each of the squares on my paper grid were 1″x1″, and this wall grid was going to be four times larger than that one, my wall squares were 4″x4″.

Step 3: Duplicate the Design
Now’s the time to work your way through the grid, and duplicate what you see in each square. Breaking it down like this makes the process so much easier, since instead of having to write out a whole intricate design you’re simply copying small shapes.

Step 4: Add Paint
Once you have your rough draft complete, now’s the fun part – time to finalize the design! Gravity will not be your friend during this part, so be careful not to overfill your paintbrush. Your motto should be patience, patience, patience. (And paper towels for the paint drips on the floor.

Step 5: Erase the Grid
Once the paint is dry, grab a good eraser and get rid of any trace of the grid from your wall.

Step 6: Enjoy!
Sit back and enjoy your new awesome piece of custom artwork! (And go ahead and brag a little, you crafty devil you!)

Hope this helps add something fun and personalized to your home, and if you have any questions as you work through making your own DIY piece just let me know in the comments!
Love + Laughs,
Ben
NICE~! I plan to do a quote by Carl Sagan on our kitchen wall soon. “To make an apple pie from scratch, you first need to invent the entire Universe”. YES….I think I will try out the grid.
Love that quote! Good luck with the grid, it’s super easy once you get started 🙂