
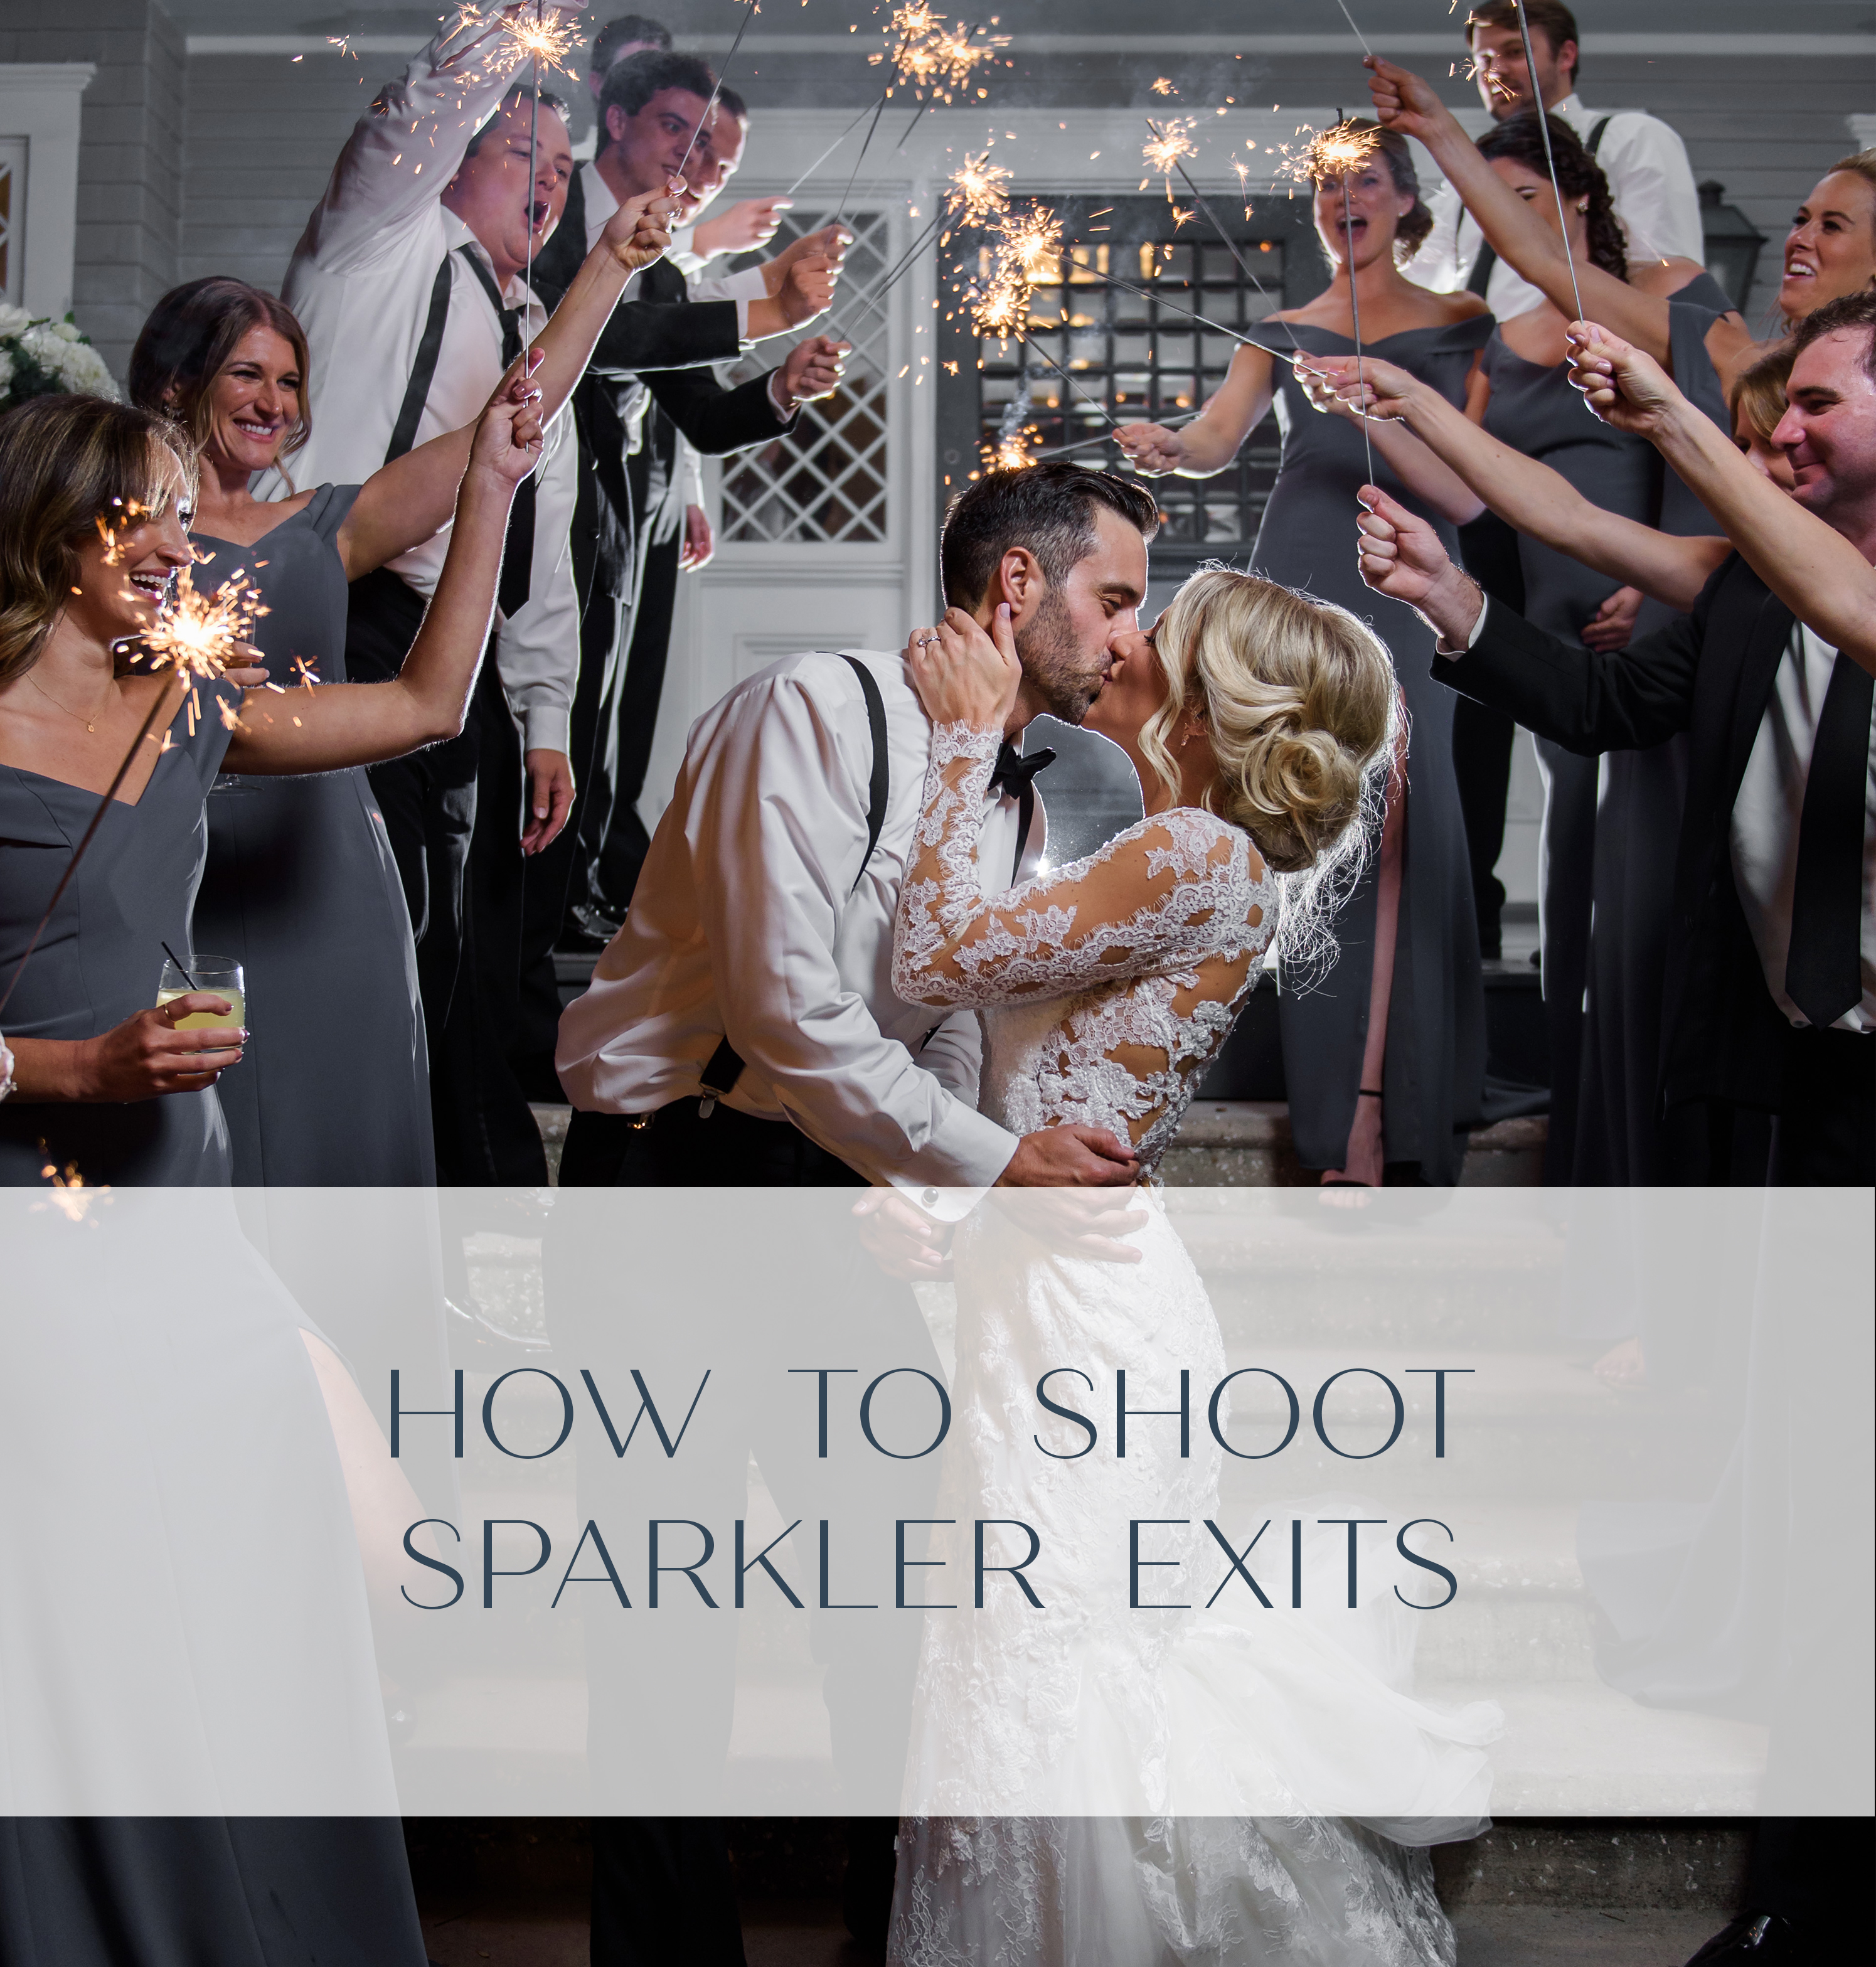


Happy Monday guys and gals! We’re gearing up for a month of birthday celebration (because Sarah is officially going to be the big THREE-TWO in October!) and thought that since we’re in a festive mood today’s edu-post would be too ; ) Recently someone left a comment on one of our blog posts asking about our method for lighting sparkler exits, and because sharing is caring, we are of course always happy to throw whatever knowledge we have out into the universe in hopes that it helps a person or two. We’re talking anything and everything sparkler exits, so let’s get glowing! (See what we did there?! ; )
Sparkler exits are preeeeeetttty much the leggings of the wedding world. They are absolutely everywhere, they’re super trendy and they’re an easy go to at the end of the night. So if you’re going to be a wedding photographer, it’s important that you have a set-in-stone, never fail, surefire method for shooting them. Or every weekend you’re going to find yourself in a panic-induced, sweat filled, anxiety ridden breakdown at the end of the night. And we don’t know about you, but that doesn’t sound like our idea of a ton of fun. We’d much rather spend those last few minutes of the night feeling like bosses and showing off our very bad dance moves.

Over the past 6 years we’ve tried many different methods, from simply shooting with available light and high ISO’s/low shutter speed, to using a video light or single flash, to our current method of both front and back lighting our subjects. And before we go any further, let us just say that there isn’t a right way. This, like so much of what we do as artists, is entirely subjective and based solely on what the eye is drawn to. For us, we’ve found that we don’t love images with a ton of blur, and we want our couple to be seen as much as the sparklers.

So let’s get technical. Here’s the method to our sparkler madness.
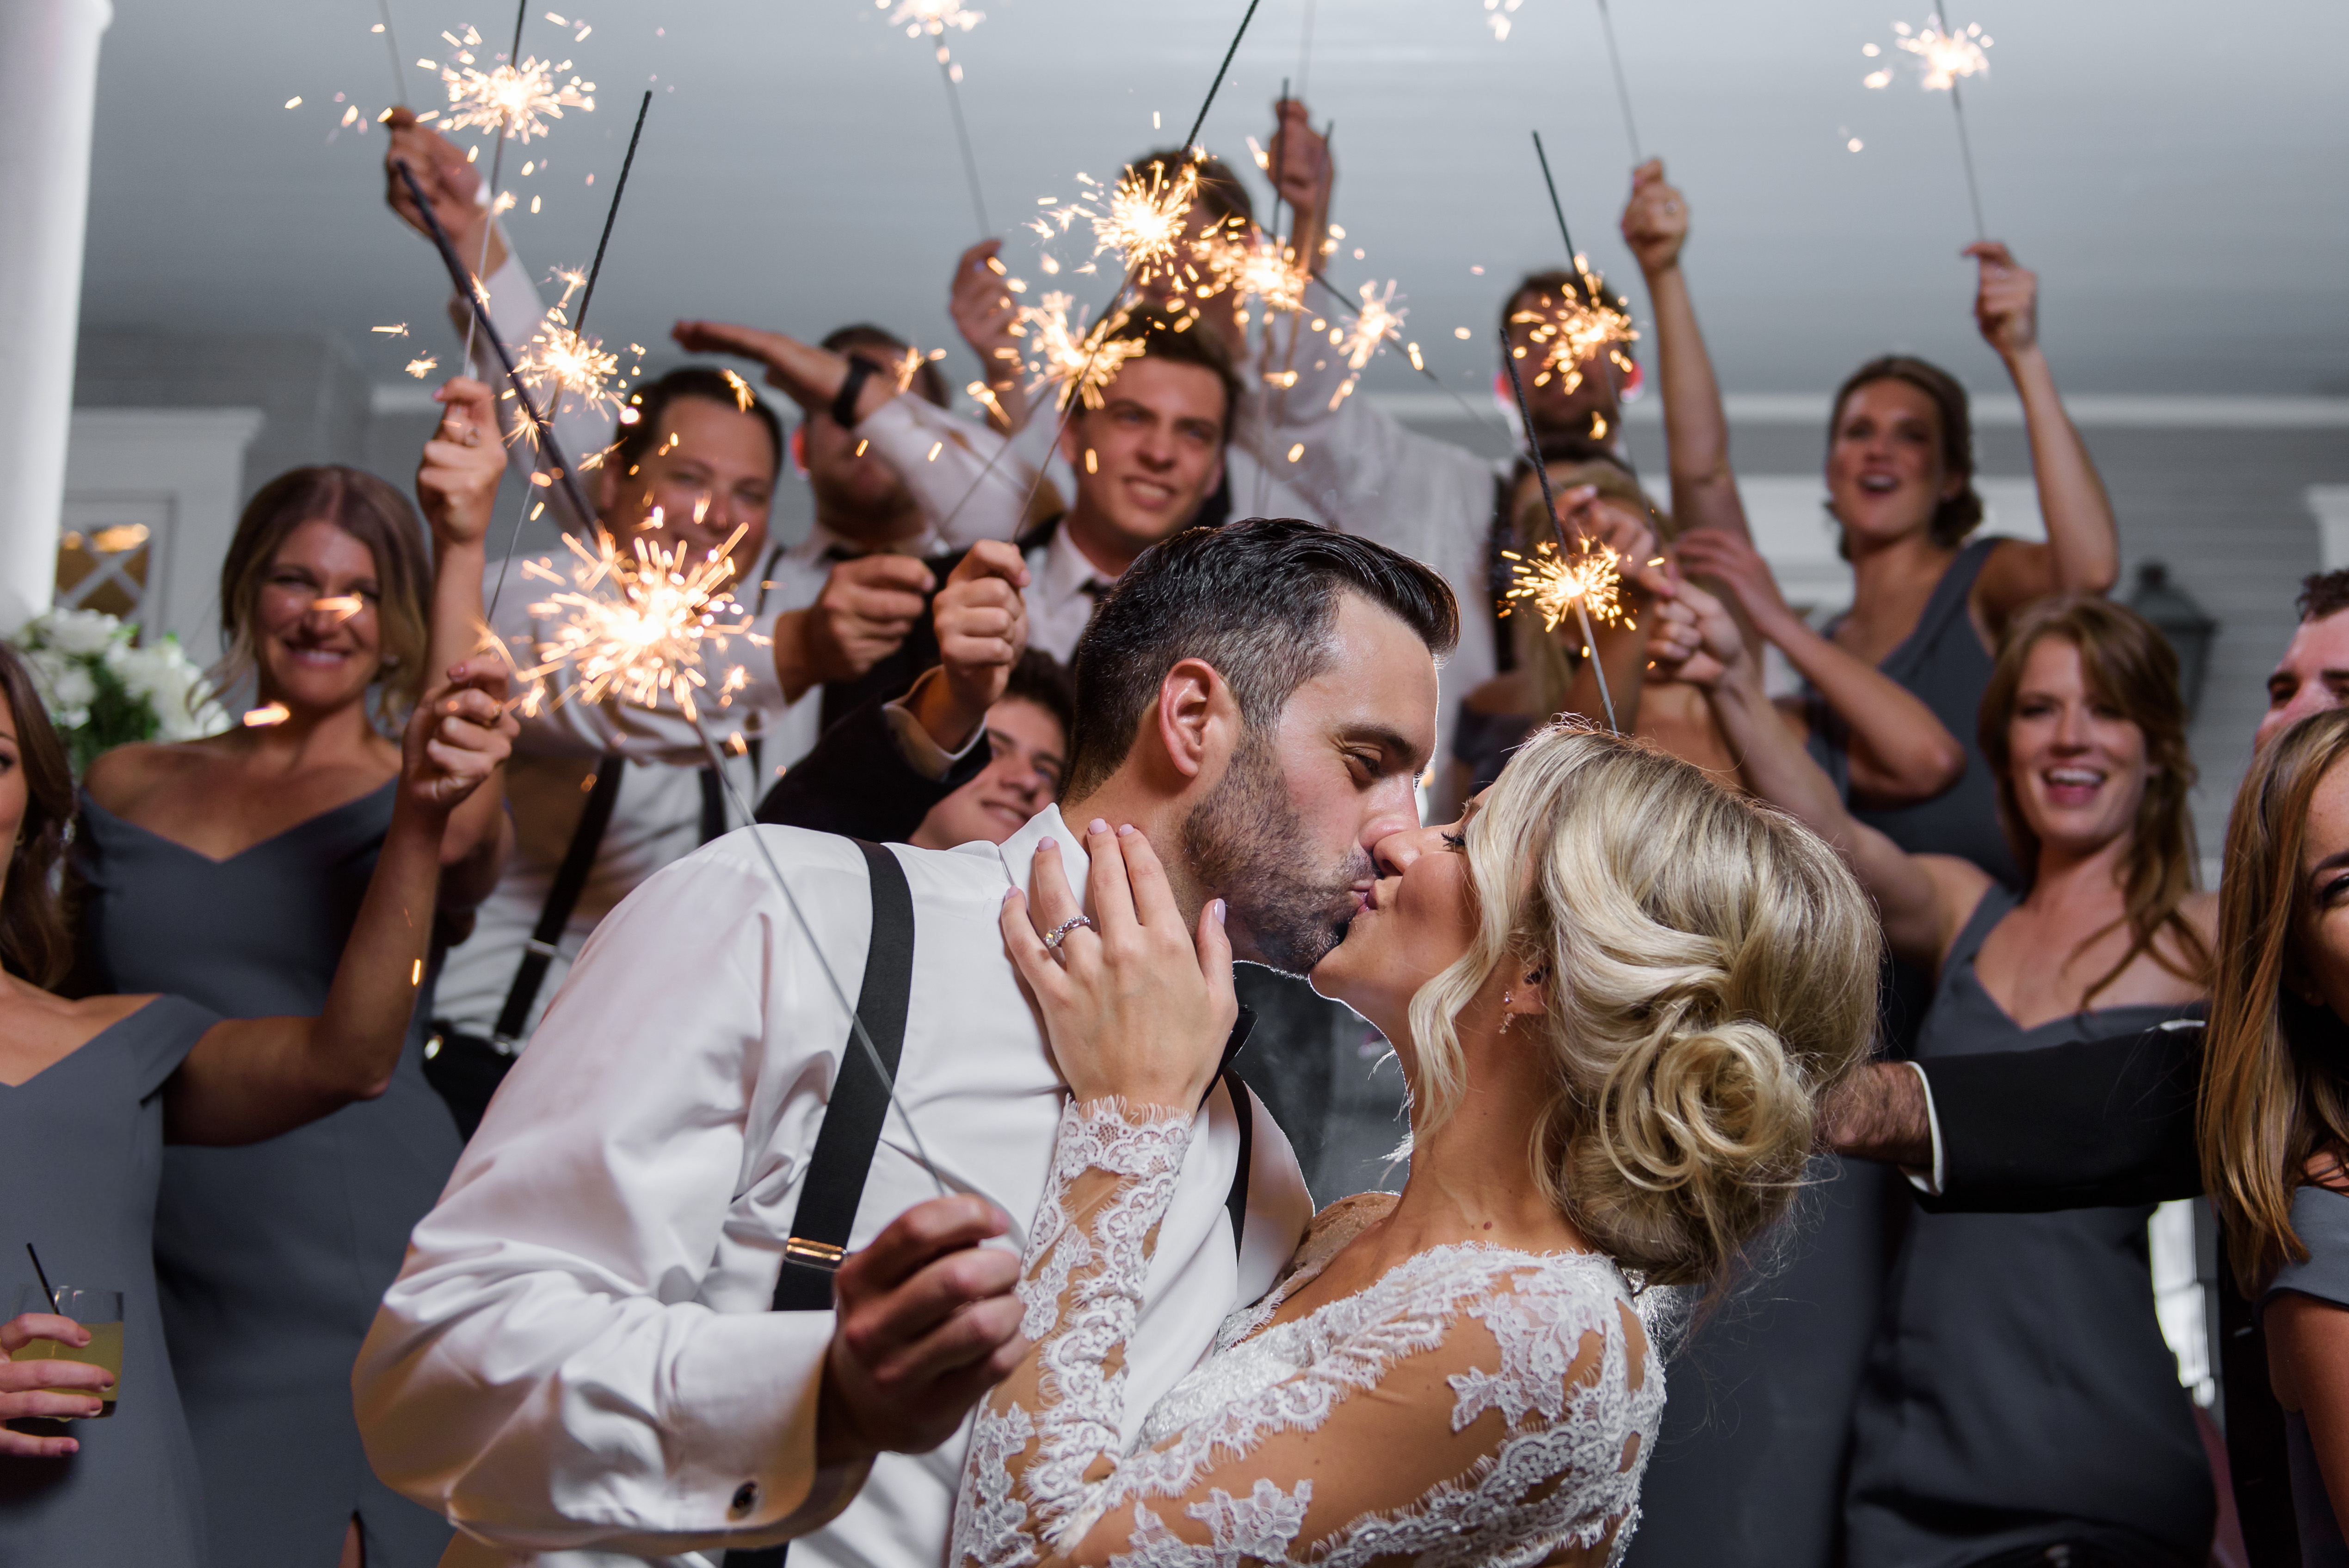
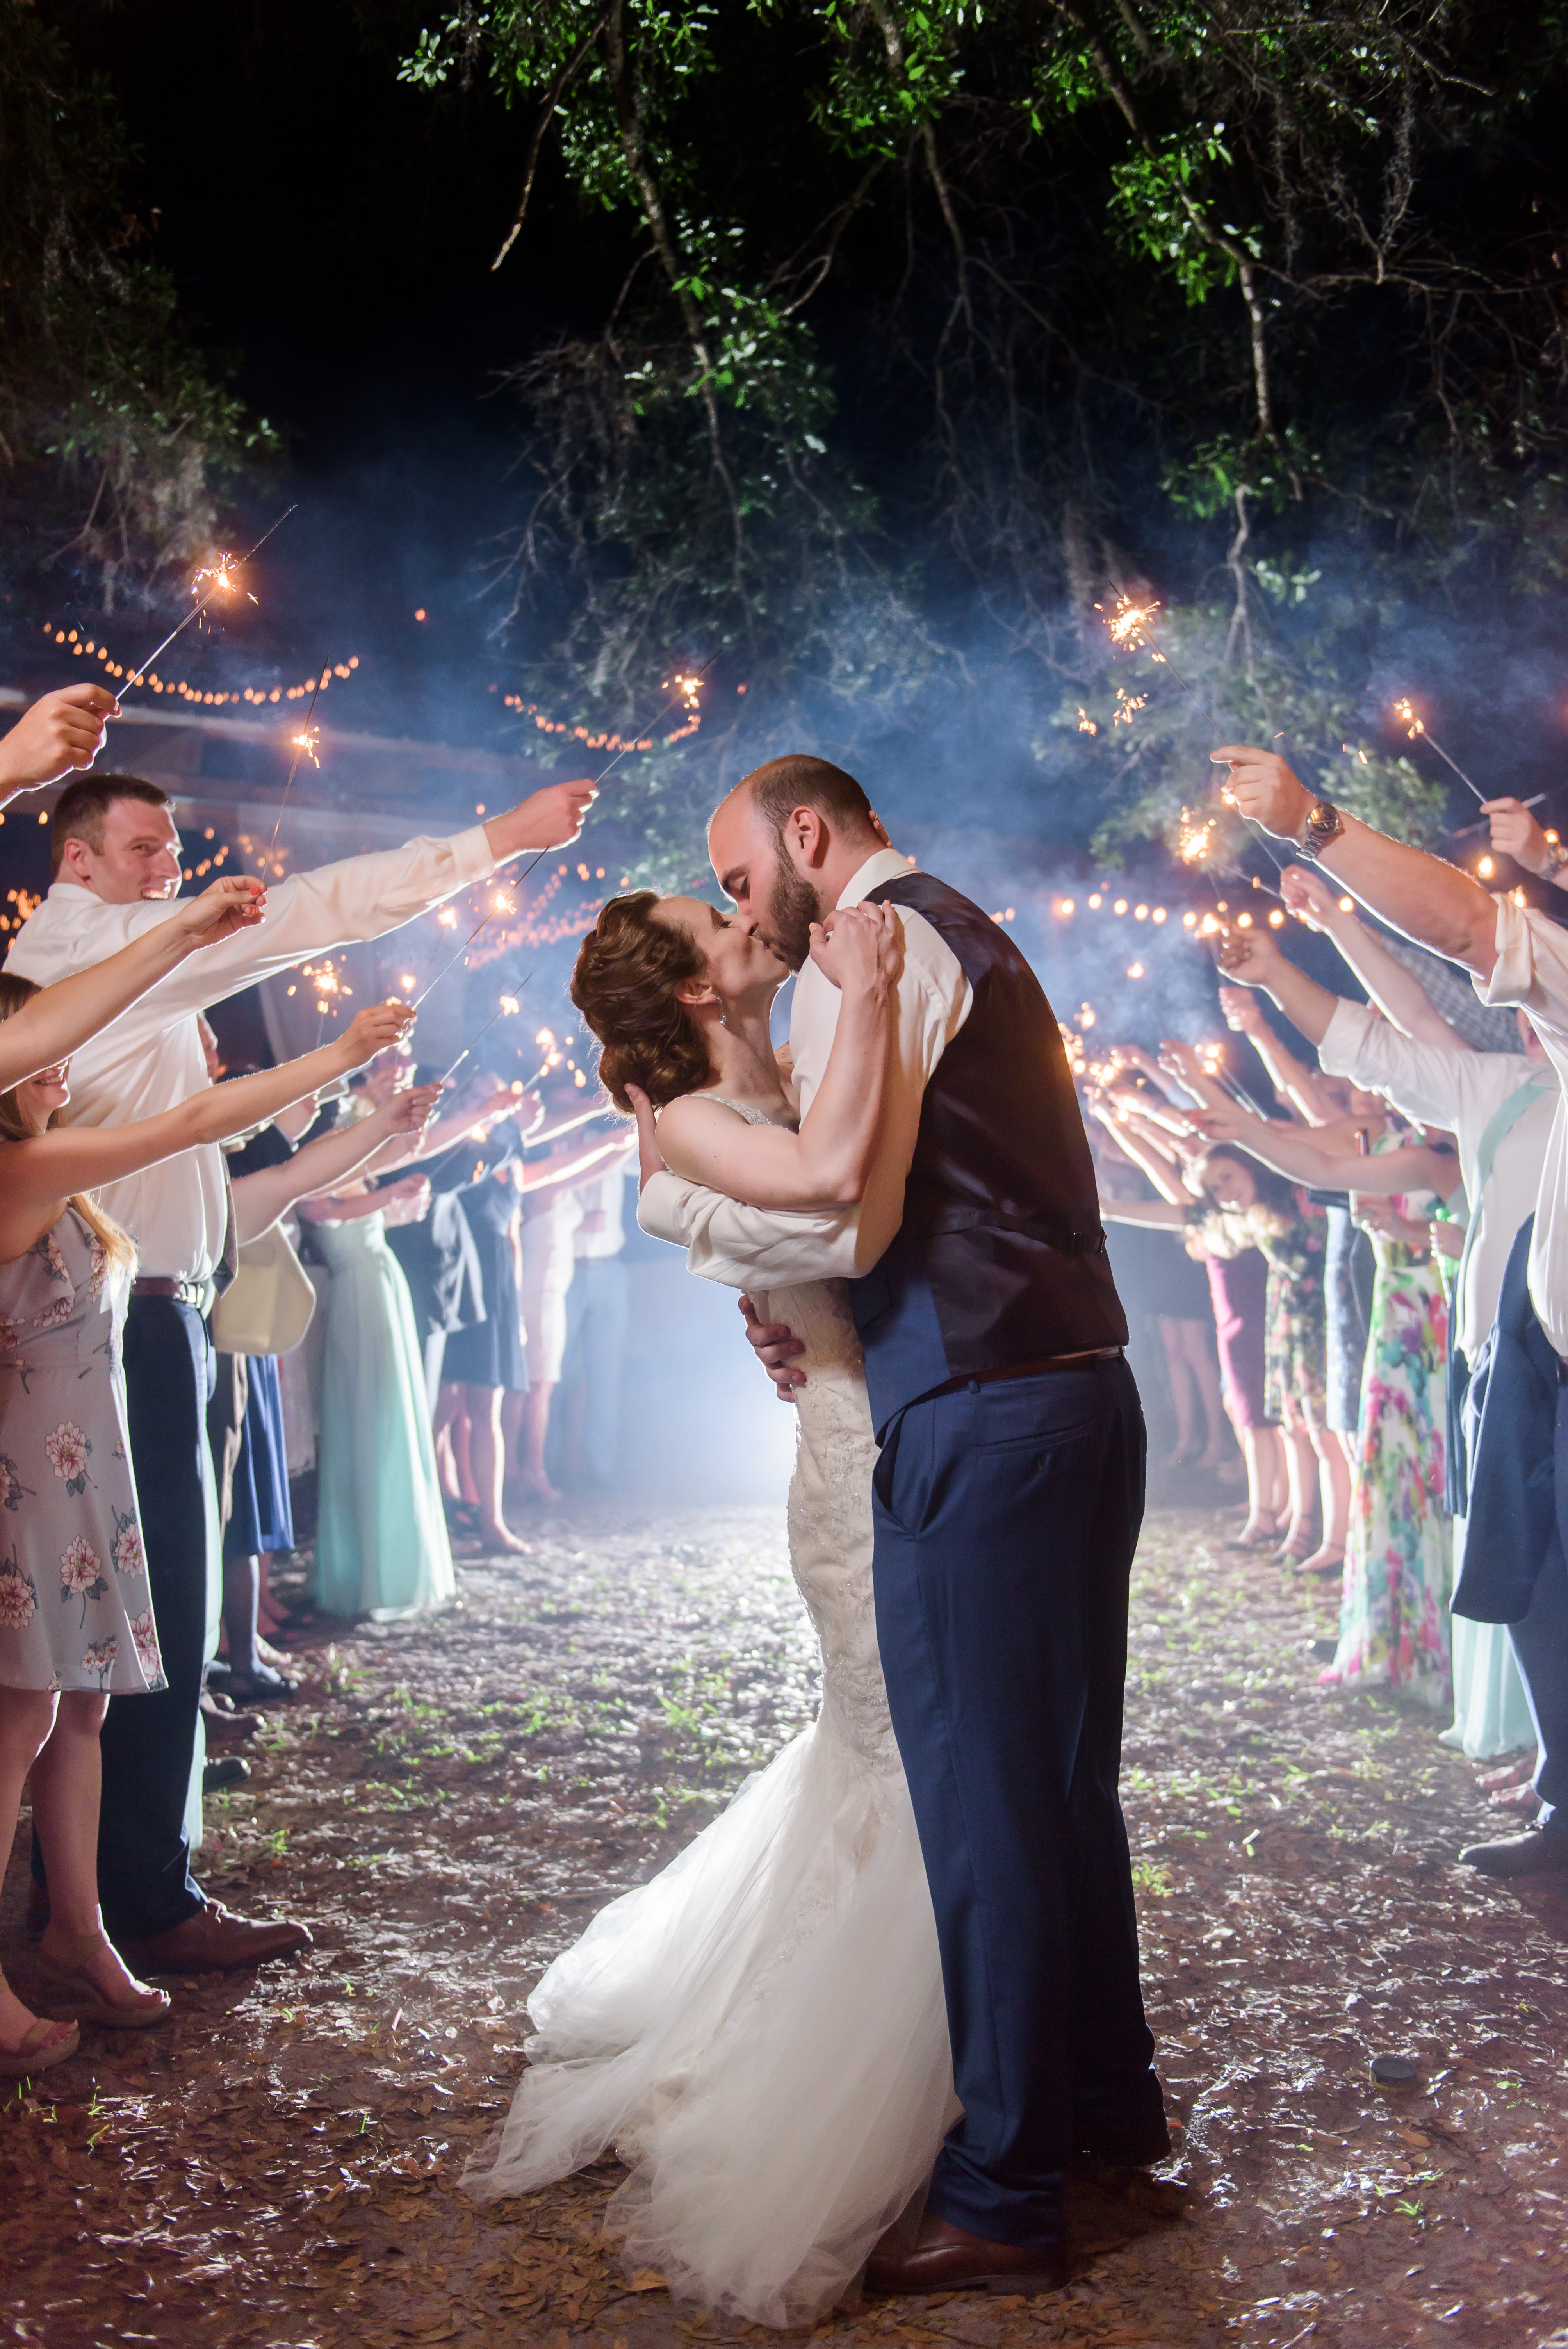
At the end of the night, Ben always leaves the reception during the last dance, and takes Tim (our trusty stool) a flash on a foot, and one full OCF setup with a shoot through umbrella out to where the exit is going to take place. He places the footed flash on Tim at the very beginning of the line where our couple is going to be running through, and sets the flash on manual mode at a power of 1/32 with a zoom of 105. Why does the zoom matter you may be asking? Since we are just looking for some rim light on our couple and not a giant alien invasion sized beam shooting right into our cameras, we zoom it in pretty tight so the light is mostly just hitting their backs. He then places our OCF setup at the end of the line (where they will be running towards) off to the side at about a 30-45 degree angle, and puts it up pretty high on the stand since it will have to fire over the line of guests it is standing behind. This one is also set to manual, and we let the length of the sparkler line dictate the power it is set to. If the line is super long we will obviously need more power, since the couple will be further away when we start shooting, and if it is a shorter line we will need less. Our rule of thumb is always just to set it up so that our light is best in the middle of line. This generally falls power wise somewhere between 1/8-1/4. From there, as the couples walks through the tunnel Ben will be on the outside of the line, holding the light stand and moving with them. Sarah is in the middle firing away, always making sure that the back light is behind our couple, and not shooting directly into the lens.
As far as your actual camera settings, the biggest thing to think about is all of the ambient light that the sparklers are creating. There is just one setting that affects ambient light only, and that is your shutter. The longer it stays open, the more ambient light you’re going to pull in (aka more sparkler glow), so we usually shoot at a shutter of around 100. Remember, flash freezes movement, so you’re couple will still be lookin’ sharp ; ) Once we have our flashes set we take a few test shots as the sparklers are lit, and adjust to make sure we’re pulling in enough of the glow.
Hope this helps, and as always we’d love to hear from you! If you have any questions about this post, or any new ones you’d love for us to write about in the future leave us a comment or send us an email at hello@sarahben.com!
Love + Laughs,
Sarah & Ben


Thank you for this! I have my first sparkler exit coming up soon and I’m so nervous!!
You are most welcome Jesi, hope it helps! You will totally rock it out 🙂
Wow! It’s really Amazing tips for sparklers photographs. You clearly explain what will do in beginner photographers to take sparklers photos. It’s really helpful for all photo lovers. Thanks for sharing this wonderful tips.